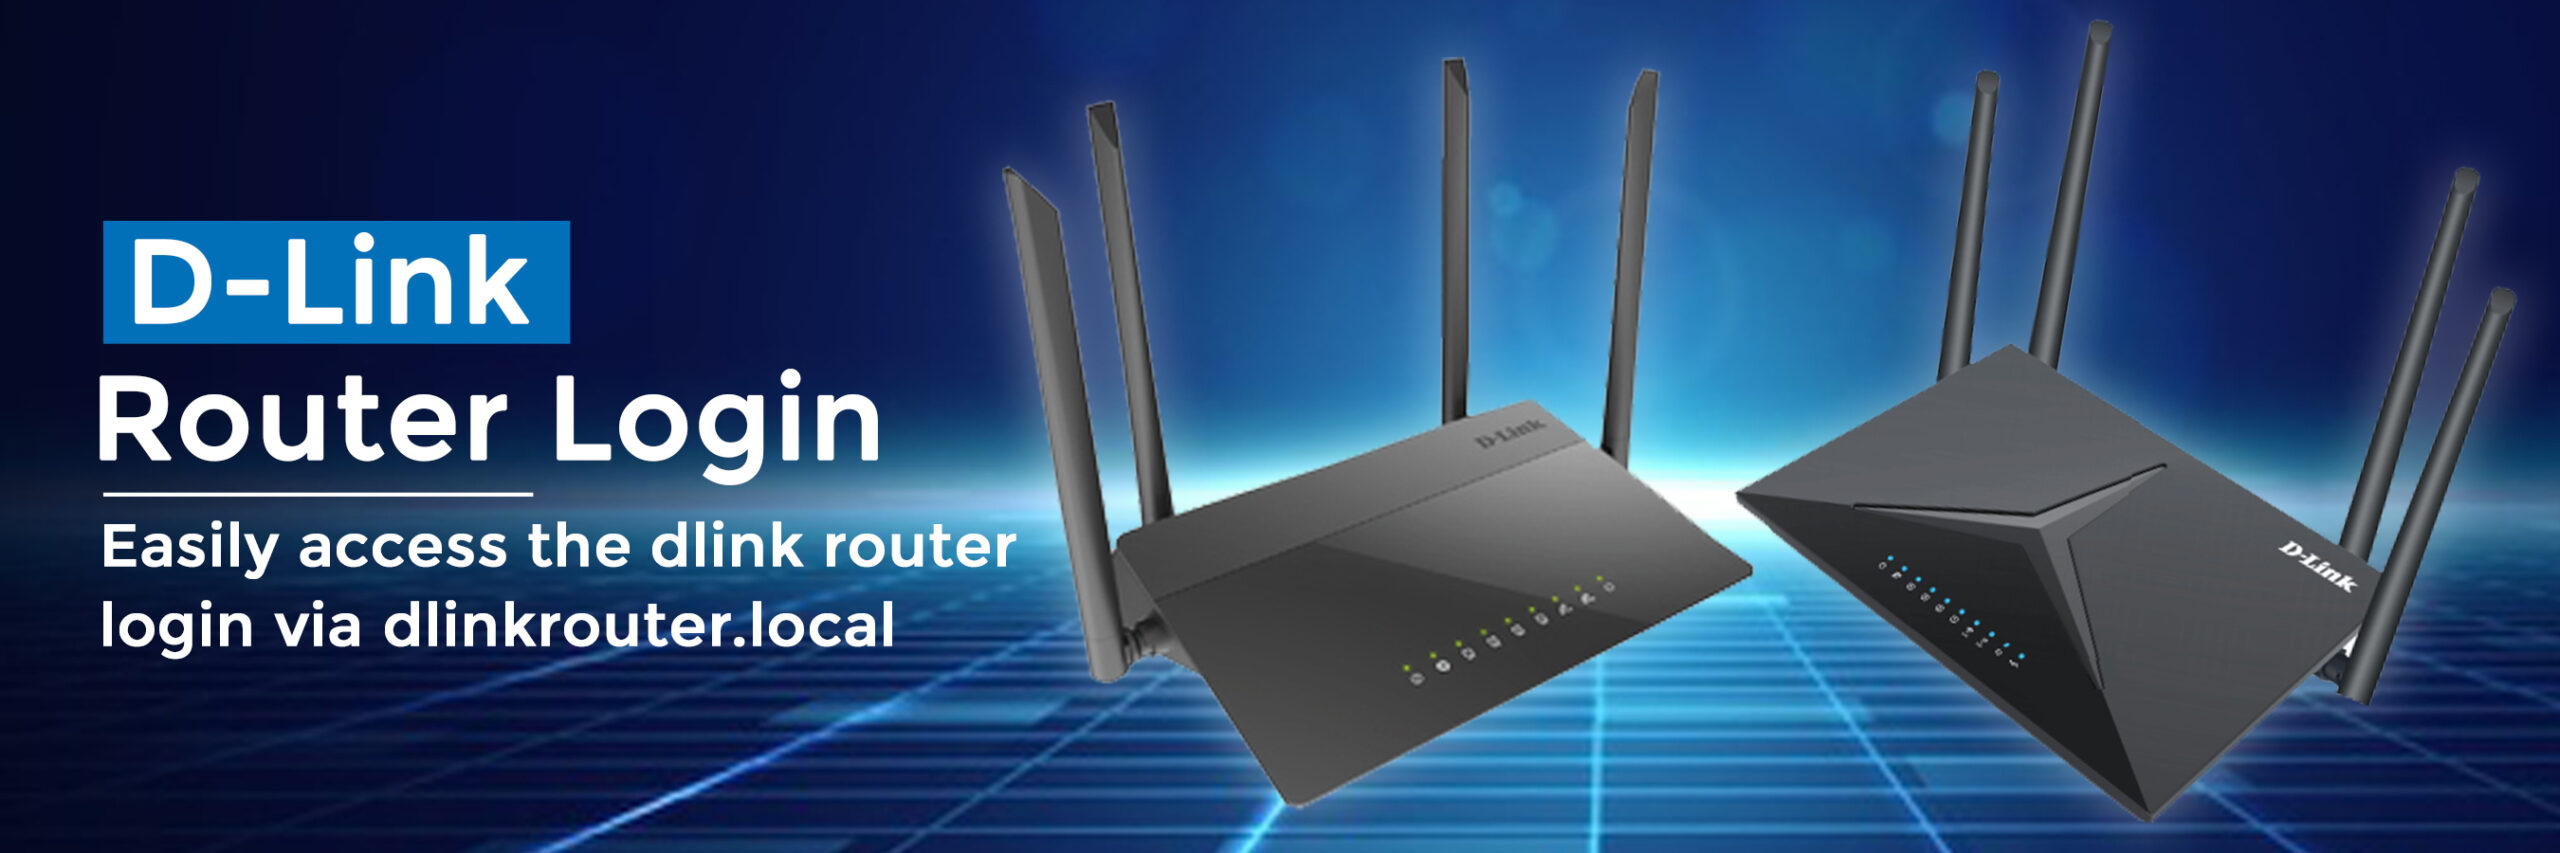
These networking products are customized with the high compatibility to capture even the far away signals and secure your network from various bug and threats. Make your home networking system smart enough with the blazing fast speed of connectivity, to even allow the other gadgets within your home with your network without disturbing the speed of your network. Smart Connect feature within your dlinkrouter.local page allows the device to give a throughput of its maximum speed.
Some customers encounter the problems while linking with the network through their D-Link router. The network problem can also be from the Internet service provider side and can also be due to the slow performance of your D-Link router login http //dlinkrouter.local
Here are some solutions, which you can pursue while encountering with the network connection with the D-Link router
- If the user is using the wired connection, then check whether the Ethernet cable has properly attached within the port or not. Also, check that the bundle of wires does not gather at the particular place, it might also cause the problem.
- Interference of the signals of other wireless devices within your network can also be the cause in the degradation of your network speed.’
- Excess of the MTU size than the recommended size can cause the heavy loss in the internet packets which are being transmitted within your network. This can also be the cause of the heavy drop in the Internet connection within the server.
- Heavy traffic in your broadcasting channel can also slow down your network. The existence of many devices or servers in a single channel can also be the reason behind the degradation in your network speed.
- The existence of the numerous devices within your network can also cause the negative effect in the speed of your network. The more devices are using your network, the more degradation in the network speed you are going to suffer within the server.
Here are some top picks of the Dlinkrouter.local
- D-Link AC1900 Wi-Fi Router
- D- Link AC3150 MU‑MIMO Ultra Wi‑Fi Router
- D- Link Wireless AC3200 Tri-Band Gigabit Cloud Router
- D-Link EXO AC2600 MU‑MIMO Wi‑Fi Router
- D-Link EXO AC1900 MU‑MIMO Wi‑Fi Router
- D-Link Wireless AC1200 Dual Band Gigabit Router

Where the user can find the wireless details within the Dlinkrouter.local?
Sometimes, the users want to acknowledge their router details without even interacting with the interface of the D-Link routers. They just want to use their wireless details while recognizing the network name within the Available network list. Here are the steps to fetch the wireless details within these routers http //dlinkrouter.local
- Power off the device, in case it is on.
- Now turn over your device and locate a white sticker line behind it.
- There you can find the SSID name and the WPA Key which reveals the password of your wireless network.
Steps to manually set up the D-Link AC5300 Ultra Tri-band router?
Here are the steps to deal you out with the setup problems of AC5300
- First, attach the antennas of D-link by twisting them in the clockwise direction.
- Now, positions your router within the range of your modem. You can keep your router in an open area to for its better coverage.
- Now, find an Ethernet cable and connect it with the modem through the Internet Port of the router.
- Connect the power adapter of your D-Link router with the power outlet of your device. To verify, whether your device is either getting the power or not, you can also check the LED on the device.
- In case, you are using the PC to configure your router, then plug in one end of the Ethernet cable to the router and another end of the cable to the computer
- Or if you are using the mobile phones or laptop, then you can sue the Wireless network to establish the connection between your router and the device.
How to perform the login admin page within the Dlinkrouter.local Page?
D-link routers setup is easy to maintain as the user can conveniently interact with the web interface of the D-Link routers through its www.dlinkrouter.local. Any adjustments within the network settings or administrative protocols within the D-link router can only be performed through the web management page of the router.
Steps to login in admin page of the D-Link routers.
- Connect the power adapter of your D-Link router to the power outlet.
- Now, take an Ethernet cable and connect one end of the cable to the router and another end to the computer.
- Connect second Ethernet Cable with one end to the modem and another end to the router.
- Now, power on both of your devices( router as well as the modem).
- Go to the bar icon of your internet browser, and type www.dlinkrouter.local on the URL of the browser.
- The user can also open the web interface by typing 192.168.1.1 on the address bar of the browser.
- Dlink router login page will appear on the desktop screen.
- Type down the default username of on the username field and default password on the password field on the Dlink router login page.
After performing the above steps, you can configure the device through www.dlinkrouter.local these routers are also compatible to connect to any device within the range through its wifi password.
How to change the router IP address of the D-Link router?
The users are also allowed to adjust router IP address of the D-Link router through its www.dlinkrouter.local. Whether the user wants to change the IP address of the router or assign the MAC address in different manner, you always have to take the help of its web interface of the router.
Steps to change the IP address of the D-Link router
- Launch a browser by typing www.dlinkrouter.local on the web address of the browser.
- The user can also type down the default IP address of the router which is 192.168.1.1
- An individual can use the default username that is “admin” and the password is nothing. Now, click on the Login button.
- The homepage of the web interface will appear on the screen.
- Click on the setup button and then Network settings.
- Now, go to router settings from where you have to go to New IP address. The IP address you are going to type on the field of IP address will be used for the web management interface. You might need to change the network settings of your device after changing the IP address of your computer. http //dlinkrouter.local
Now, click on the button to save settings to save the settings.
How to reset password of router from Dlinkrouter.local Page?
Users frequently update their password on D-link router to not to allow any unwanted user to hack their server and take the huge advantage of it. To change the router password, the user always have to reach to the D-Link router login page and through there, he has to reset the password on D-Link routers.
Steps to reset the password on D-link routers
- Open up the browser using www.dlinkrouter.local on your desktop and type 192.168.0.1 on the address bar of the browser.
- The D-link router login page will appear on the screen.
- Enter the login credentials within their specific fields.
- Once you reached the Homepage of the web interface. Click on the setup tab in the menu.
- Go to “Wireless settings” tab residing on the left-hand side of the page.
- Now click on “wireless connection setup” button.
- Scroll down till you do not see the “pre-security field”
- Type your new password on this above field and that particular password will be your new password.
How to configure the MTU settings within the www.Dlinkrouter.local page?
MTU size, basically suggests the bandwidth strength being transmitted within your network. MTU stands for the Maximum Transmission Unit, it signifies the amount of data packets are restricted within your network. The unit of data packets suggests the incoming of bandwidth units within your device. The TCP transmission control protocol utilizes the MTU to acknowledge the maximum size of the data packet that can be transmitted within the network at a time. Normally, 1500 is the largest data packet within your server. http //dlinkrouter.local
The lower the MTU of your device, the lower will be the unit which is being transmitted within your network. Lower MTU results in the transmission of lower bandwidth and lower performance of your device. The higher the MTU size will be allowed within your server, the more transmission size will be transmitted within your device. The user can configure or adjust the MTU size within their D-Link router by the interface of the router which is reached through www.dlinkrouter.local
Steps to perform the configuration on the MTU size within your D-Link router
- Locate the bar icon of the browser within your system.
- Now, click on the internet explorer icon and type www.dlinkrouter.local on the web address of the browser
- Once the Dlink router login page appears on the screen, type down the login credentials on the login page.
- If you have previously set up the login credentials through dlinkrouter.local, you can type down the default credential within the respective field. The user has to type admin on the username field and leave blank on the password field.
- Once you are successfully entered into the Home page of the router, you can access the MTU field of the router.
- Click on Advanced button then go to the setup button and then WAN setup.
- Setup page of your Wireless area network will display on your screen.
- Go to the MTU size field and enter the unit in its field, replacing the former one.
- It is strongly suggested to type down the value within the 1500 range as it is the maximum MTU size that can ever exist within the server. If the user extends this range, he might experience the loss in data packets within the server.
- After you have set the size on the field of MTU.
- Take down the cursor and tap it down on the Apply button to save the settings you have changed.
How to perform the security update within your D- Link AC3150 MU‑MIMO Ultra Wi‑Fi Router?
Firmware update plays an important role in improving the performance of your D-Link router as the update in the software within the router fix the bugs within your router, maintains the stability and also sums up the new features within your router. The user can install the latest version of the firmware from the official website of the D-link router. Web-based setup page is utilized to launch the setup of the D-Link firmware within the computer. The latest model of D-Link router automatically notifies the user about the available latest firmware within the router.
Steps to perform the security update within the Dlink router
- Visit the web interface of the D-Link router by typing www.dlinkrouter.local on the URL of the browser.
- Click on Login button after typing the login credentials on their respective fields.
- Click on Tools button and then click on the Firmware button on the left side.
- Tap on Check now button to check whether the latest firmware is available for your particular model of router or not. After tapping on the button the system will search for the available latest firmware.
- After a few minutes, the interface will notify you about the status of the firmware.
- If the latest firmware will be available then the system will suggest you download the firmware within your computer.
- Keep the firmware file within the system, from where you can access it anytime.
- Now, tap on the browser button and to upload the file within the interface.
- Once you have found the file, click on Upload button and install it in your web interface of the router.
- As soon as the process is finished, the firmware of your router gets upgraded within the system.
How to configure QoS/Traffic Control settings on my Dlink router?
QoS is a smart feature within your Dlink router for controlling traffic within the network. With the help of the web interface of dlinkrouter.local, the user manages to configure Traffic Control settings within their device. You can interact with the interface of you router either through your computer or through your mobile device. Most of the Experts recommend interacting with the web interface of dlinkrouter.local through your computer.
Steps to configure QoS/Traffic Control settings on the Dlink router
- Open a browser in your Wi-Fi enabled device with which your WiFi is connected.
- Type dlinkrouter.local on the address bar of the browser to get to the Dlink router login page. The user can also mention the LAN IP address of their router in place of www.dlinkrouter.local in the address bar. The IP address of the Dlink router is 192.168.0.1.
- Now, fill up the fields of the Dlink router login page with the correct credentials. The default username of Dlink router is “admin” and the default password is “password”. Type the default password only if you haven’t assigned the password on the Dlink router login page.
- Basic homepage of the web interface of Dlink router displays on the screen.
- Choose the Wireless Tab and click on the Manual setup tab.
- Click on the Advanced tab residing at the top of your window. After that click on Traffic Control located on the left side of the window.
- Make sure that you checked the checkbox “Enable Traffic control”
- If you want your device to manually control the network traffic, check the checkbox “Automatic Distribute Bandwidth”. You also need to enter the upload as well as download bandwidth. Enter both the bandwidth in their respective credentials. In case if you do not know the upload and download bandwidth you can contact your Internet Service Provider to know both of the bandwidth categories.
- Click on the save settings tab when you are finished.
How to configure Port Forwarding on your Dlink router?
Steps to configure Port Forwarding on your Dlink router
- To interact with the web interface, open a browser in your Wi-Fi enabled device.
- Type 192.168.0.1 on the web address of your browser. In any case, if you get the Error 404, try using dlinkrouter.local on the web link of your web
- Dlink Router login page appears on the screen in which you need to mention the credentials.
- The default username is “admin” and the fill the password field with the character case that you have it with. If you haven’t changed the default password then leave the password field blank.
- Click on the login tab.
- The basic homepage will get displayed on your window.
- Take your cursor to the Advanced tab residing on the top of the window. Locate Port Forwarding on the left side and click on it.
- To enable the rule check the checkbox beside the rule. Use the Application drop-down list to use non-predefined applications. Now click on the arrow tab residing next to the list to automatically fill an appropriate field. For non-Predefined application, enter the desired port.
- Now, go to the list DHCP clients and select the computer from the Computer drop-down list. You also can manually type the IP address of your device for which you want to open the specified port.
- Click on the Save settings tab when you are done with the above settings.
How to change the login password of the Dlink AC1900 Router?
The login password of the Dlink AC1900 router is a medium to interact with the web interface of your router. The password of your router is applied on the Dlink Router login page. The password is usually configured during the process of your Dlink router setup. A user can also skip that step, as in that case the default password will be the password of your Dlink Router login page. While framing the password for your router, the user must follow some basic rules of it, otherwise, it may fail in its process.
Steps to change the login password of Dlink AC1900 Router
- Open a web browser on your computer and type dlinkrouter.local on the web address of the browser. You can also mention the IP address of the router on the web address. The IP address of Dlink router is 192.168.0.1
- Press Enter and the login screen of the Dlink router appear on the screen.
- The default username is “admin” and fills up the password field with the password you registered during the Dlink router setup. Leave the password field blank and click on the Ok tab.
- Click on the Tools tab, then click on Admin residing on the left side.
- Now to change the login password for your router, enter the desired password in the Admin Password section.
- Click on the Save settings tab to apply and save the settings you made.
How to change the wireless channel on my Dlink AC1900 router?
The wireless performance of your router may also be affected by the interruption of nearby wireless devices in your network. Devices that are on the same channel in which your device is, may affect the strength of incoming Wi-Fi signals in your network. Wireless channels should be chosen wisely before operating any activity on your network.
The channel is a source for your Wi-Fi signals to travel in which other nearby networks also resides. Inappropriate Wireless channels can also be the reason behind the lower performance of your router. If you are facing any issue due to your channel you can shift down to other channels with less interference which might enhance your Wi-Fi performance.
Steps to change the wireless channel on your Dlink AC1900 Router
- Open a browser on your computer, the browser can google chrome, Mozilla, Safari, etc.
- Type dlinkrouter.local on its web link and or mention the IP address of the router. In case if you do not know the IP address of your router, check it out on the label of your router.
- Press Enter, Dlink Router login page appears on the screen.
- Type down the credentials in their respective fields. First, type the username then type the password with the correct alphabetical order. If you have not changed the password from the default, leave the password field blank. Click on the login tab.
- Locate the “Settings” tab on the screen, click on it then click on the Wireless tab from the drop-down list.
- Now choose the frequency band for which you wish to change the wireless channel. Click on the Advanced settings of the frequency band you chose. The selection process of mode is the same for both bands but somehow the options available for customizations are different.
- From this page, you can also change the Security mode, Visibility status. After selecting the Wireless channel for the chosen band, click on the save tab to apply the configuration you made.
How to update the firmware of Dlink AC1900 Router?
The major part of the functionality and mechanism of your router depends upon the status of your firmware. Your router must be updated to show its enhanced performance even when the network is jammed with traffic from other devices. Firmware in your router is responsible for maintaining the protocols of the network, mechanism of your device and management in the security of your device.
Dlink router facilitates the user with an automatic check on firmware updates whenever the connection is available. A notification bar pops up in your router page when an update of your firmware is available. The user can also perform the firmware update process even when their device is not connected to the Internet.
Steps to perform the firmware update through Internet on Dlink AC1900 router
- Open a web browser on your device connected to the local network.
- Navigate dlinkrouter.local on your browser. The default Dlink router login page appears on your screen. In case you encounter with the connection error mention 192.168.0.1 on the address bar.
- Mention the credentials on the Dlink router login page. Type the username “admin” as a default credential on the username field and enter the password you entered previously while logging in to the interface of dlinkrouter.local. If you haven’t changed the password from the default, then leave the password field blank.
- Click on the login tab.
- If your device discovers a new version of firmware, it is going to inform you whenever you log in to the web interface of dlinkrouter.local and will take you directly to the window of firmware updates. You also can access the Firmware Update page by visiting Tools tab, and then selecting Firmware from it.
- Click on Check online tab and your device starts looking for the new firmware and if it will be available, a notification will pop on your screen asking you to download the app. Click on the Yes tab to start the installation process of your new firmware.
- Wait for the installation process to come to an end.
- Click on the finish tab as soon as the process ends.
Steps to update the firmware of your Dlink AC1900 Router without an Internet service
- When no Internet connection is possible you can perform this process to update the firmware in your router. Before pursuing this method, the user first has to make sure that he must have downloaded the new firmware file for their router.
- Visit your browser and type dlinkrouter.local on the address bar of your browser. You also can mention the IP address of your device as an alternative of www.dlinkrouter.local
- Press Enter and Dlink router login page appear on the screen.
- Type “admin” on the username tab and fill up the password field with the password you assigned during the Dlink router setup.
- Click on the Login tab. Default Menu dashboard of the interface of your device pop on your window.
- Select the Tools tab, click on the Firmware tab, Now click on the Firmware Update option.
- Firmware Update page appears on the screen.
- Click on the Browse button to search that file that you downloaded for the installation of new firmware on your device.
- Select the file and click on the Open tab. As soon as you click on the open tab, a notification box will appear on your screen asking you to install the new firmware on your device.
- Click on the Update tab and the installation process of your router will begin immediately
- Click on the Finish tab after the process gets finished.
Note: Do not interrupt the process by any means as it can bring failure in your process and also can corrupt your device. For example- Do not hop on to the next window while the process is going on, Do not connect any other device with your network that might slow down your process, Do not perform any other operation on your device, it might interrupt your update process and cause failure in it.
How to change the IP address of your Dlink AC1900 router?
The default IP address of your Dlink router is 192.168.0.1. The IP address of the router is used as a web link to get to the default gateway of your device. You can change the LAN IP address of your device through the web interface of your dlinkrouter.local
Steps to change the IP address of your Dlink router
- Launch a web browser with dlinkrouter.local on the web address of your browser. You also can type 192.168.0.1 on the web link of your browser.
- The default gateway of your Dlink router login screen appears on the screen.
- Fill up both the login fields with the correct credentials. Type “admin” on the username field as the default username and mention the password on the password field. In case you haven’t changed the default password yet, leave the password field blank.
- After mentioning credentials on their respective fields, click on the login tab and basic homepage of your device displays on the screen.
- Go to the setup tab, click on Network Settings.
- Under the Router settings tab, type the subnet mask and a new IP address on its field. The IP address configured here will be used to access the web interface of dlinkrouter.local. After changing the IP address you also may need to change the network settings on your PC.
- After performing these settings click Save settings tab to save your configuration